Web Server Hosting for Noobs: Apache HTTP
This page contains information about setting up Apache HTTP Server on a OVH VPS running the latest LTS release of Ubuntu. It assumes that you followed the instructions on the previous page.
If you would like something added or fixed, please send me a email at gremlin6482@gmail.com
Initial Setup
Step 1: Install Apache
sudo apt install apache2
Step 2: Restart Apache
sudo systemctl restart apache2
Step 3:
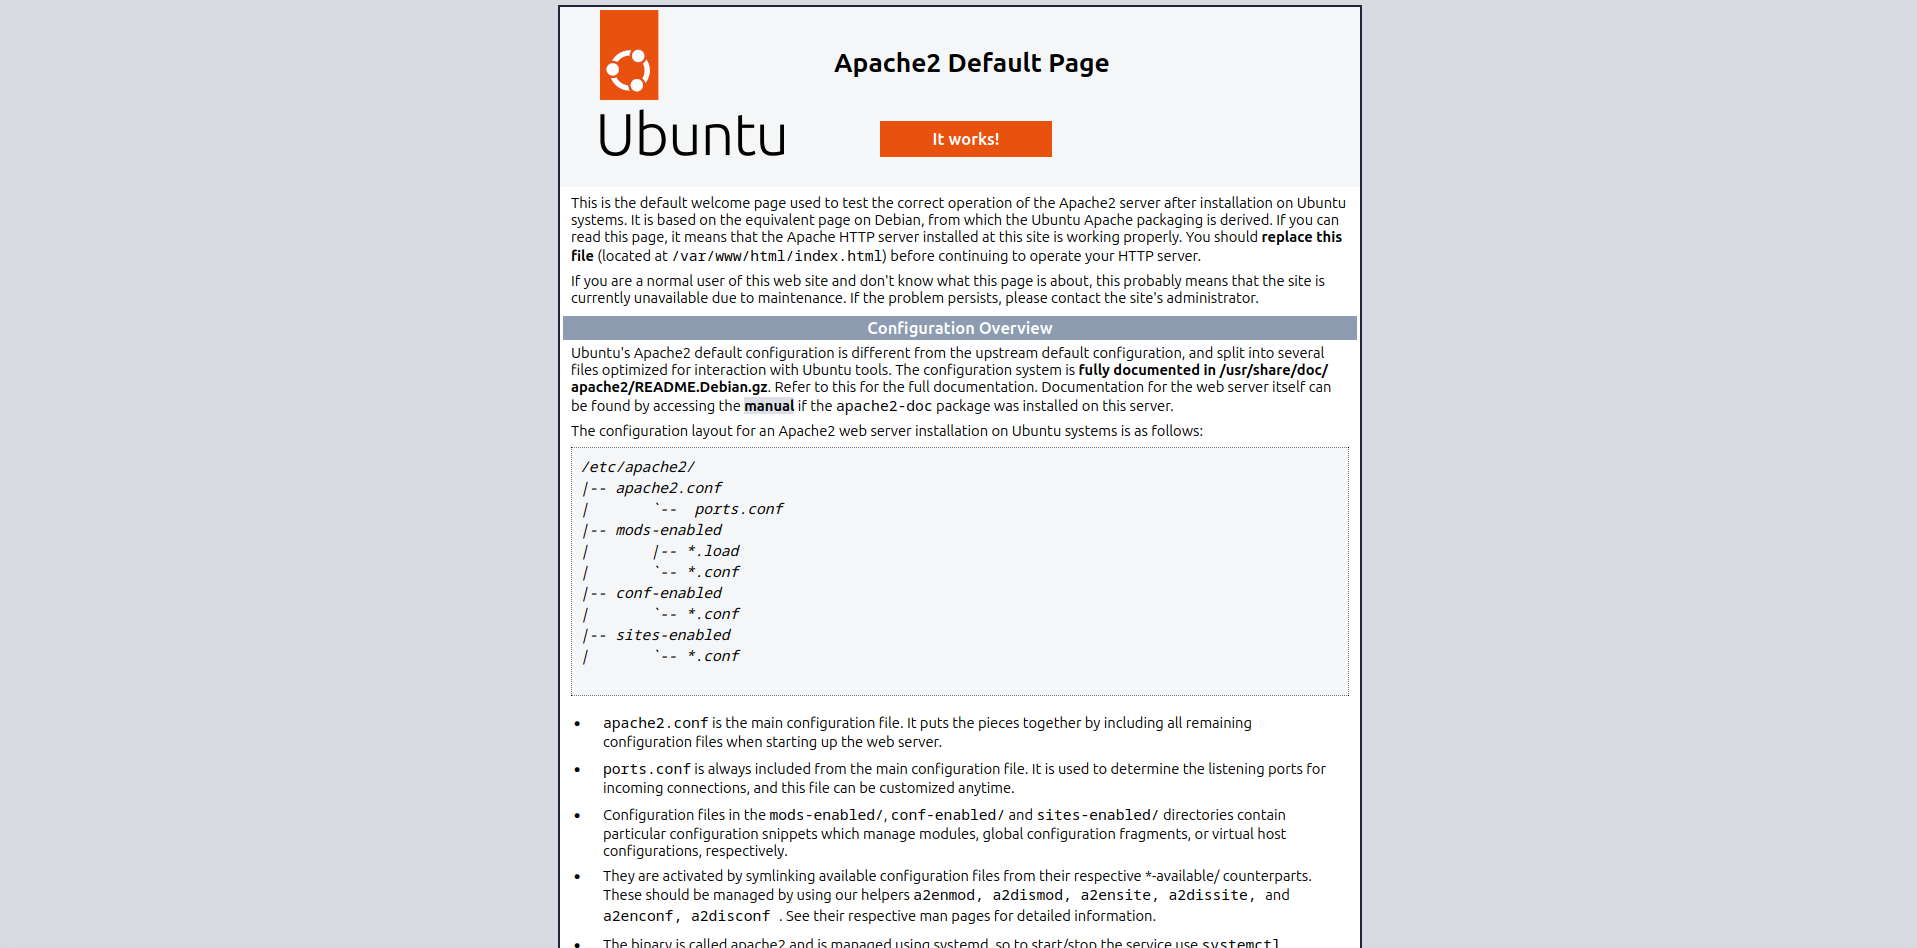
Open your web browser and enter your VPS IP address into the adress bar. You might get warnings about the site not being secure but thats because we have not set a domain and certbot yet, it is fine for testing. If everything has been done right, you will see a page that looks like the image below.
Seting up your Domain
Step 4: Setup your site's directory
(Replace "yoursite.com" with your domain)
sudo mkdir /var/www/yoursite.com
sudo chmod 775 -R /var/www/yoursite.com/
sudo chgrp -R ubuntu /var/www/yoursite.com/
Take note of that directory, it is the root of your website!
Step 5: Setup a index file for testing
echo "<h1>yoursite.com test page</h1>" | sudo tee /var/www/yoursite.com/index.html
Step 6: Configure your site
sudo nano /etc/apache2/sites-available/yoursite.com.conf
The last command will open nano, a text editor. You can't use your mouse unlike text editors you might be used to. Don't worry, you can move the blinking cursor around with the arrow keys.
Copy the text below into nano
<VirtualHost *:80>
                    ServerAdmin webmaster@localhost
                    DocumentRoot /var/www/yoursite.com
                    ServerName yoursite.com
                    ServerAlias www.yoursite.com
                    <Directory /var/www/yoursite.com/>
                        Options Indexes FollowSymLinks
                        AllowOverride All
                        Require all granted
                    </Directory>

                    ErrorLog ${APACHE_LOG_DIR}/error.log
                    CustomLog ${APACHE_LOG_DIR}/access.log combined

                    <IfModule mod_dir.c>
                        DirectoryIndex index.html index.php
                    </IfModule>

</VirtualHost>
Once done changing the needed info, press ctrl + x then y
Step 7: Activate site and disable old config
sudo a2ensite yoursite.com
sudo a2dissite 000-default.conf
Step 8: Check for syntax errors
apache2ctl -t
Step 9: Restart apache and test it
systemctl restart apache2
If everything was done right, entering your site url should send you to a webpage containing your website's name and the text "test page" instead of the default apache page.
Multiple Sites
If you plan on using this part, you need to make sure that you have setup your host records correctly with the namecheap guide. You do not need to do this part unless you want more then one site.
Step 10:
Repeat steps 4-9 for each site you need.
Enable HTTPS
Step 11: Install and setup Certbot
sudo snap install --classic certbot
sudo ln -s /snap/bin/certbot /usr/bin/certbot
sudo certbot --apache
Certbot will walk you through setting up the rest. Afterwards, your sites should be all set and ready to upload to.
Uploading Files
Now that you have your web server all setup, you need to figure out how you are going to upload files to your sites.
Linux Users usually have it easy when it comes to this part because most distros come with file managers that allow you to connect via sftp.
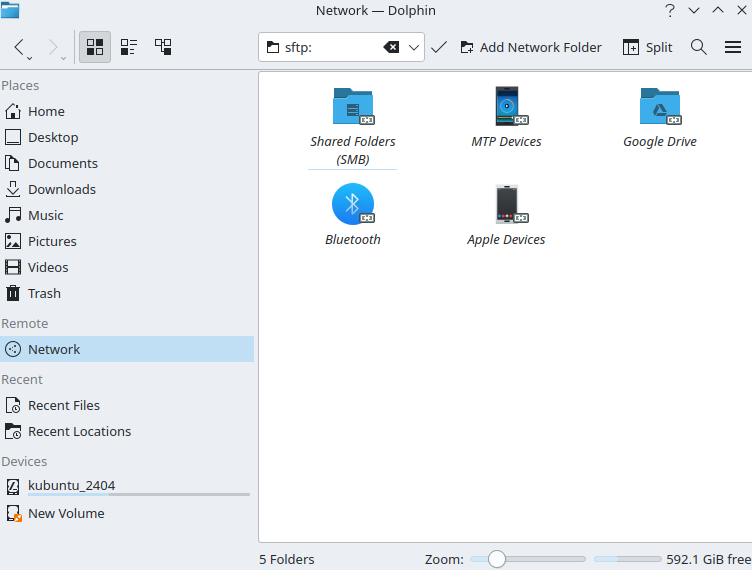
On these kinds of file managers just tell it to use sftp, then use the format below to log in
ubuntu@yourvpsip

Windows Users can use WinSCP instead